
Overview of DIY Photo Projects
DIY photo projects have become increasingly popular for individuals looking to inject a bit of creativity into their photography. Whether you’re an amateur photographer taking snapshots of family moments or a seasoned pro wanting to experiment with unique ideas, DIY projects can bring a fresh perspective to your craft. There’s something deeply satisfying about creating something with your own two hands! You might have played around with scrapbooks, photo collages, or even personalized photo gifts. These projects not only preserve valuable memories but also allow for self-expression and creativity. Here are some ideas to spark your interest:
- Photo Booklets: Combine your favorite snapshots into a homemade booklet that tells a story.
- Customized Calendars: Design calendars using your photographs to celebrate each month with heartfelt images.
- Wall Art: Convert mundane walls into artistic displays using framed photos or canvases adorned with your images.
The beauty of DIY photo projects is their versatility. They allow you to embrace your creative instincts while celebrating your unique style. Plus, sharing these projects with friends and family can turn into a fulfilling experience, as you bond over your crafty endeavors!
Importance of Having the Right Craft Supplies
Now, while the ideas are exciting, the outcome significantly relies on having the right craft supplies. Imagine envisioning a splendid scrapbook, only to find you lack the necessary materials to bring it to life. Frustrating, right? It’s like baking a cake without flour; you’re bound to feel disappointed! Quality craft supplies are pivotal for several reasons:
- Facilitates Creativity: When you have good-quality materials, your creativity knows no bounds. High-resolution prints, vibrant papers, and well-made tools can ignite inspiration.
- Enhances Your Work: The right supplies elevate the final product. Whether it’s smooth, gliding scissors or professional-grade photo paper, premium materials reflect on the finished project’s overall aesthetics.
- Saves Time and Effort: Imagine trying to use subpar materials that dull your excitement. Quality supplies streamline your work process, enabling you to focus on creating rather than troubleshooting issues.
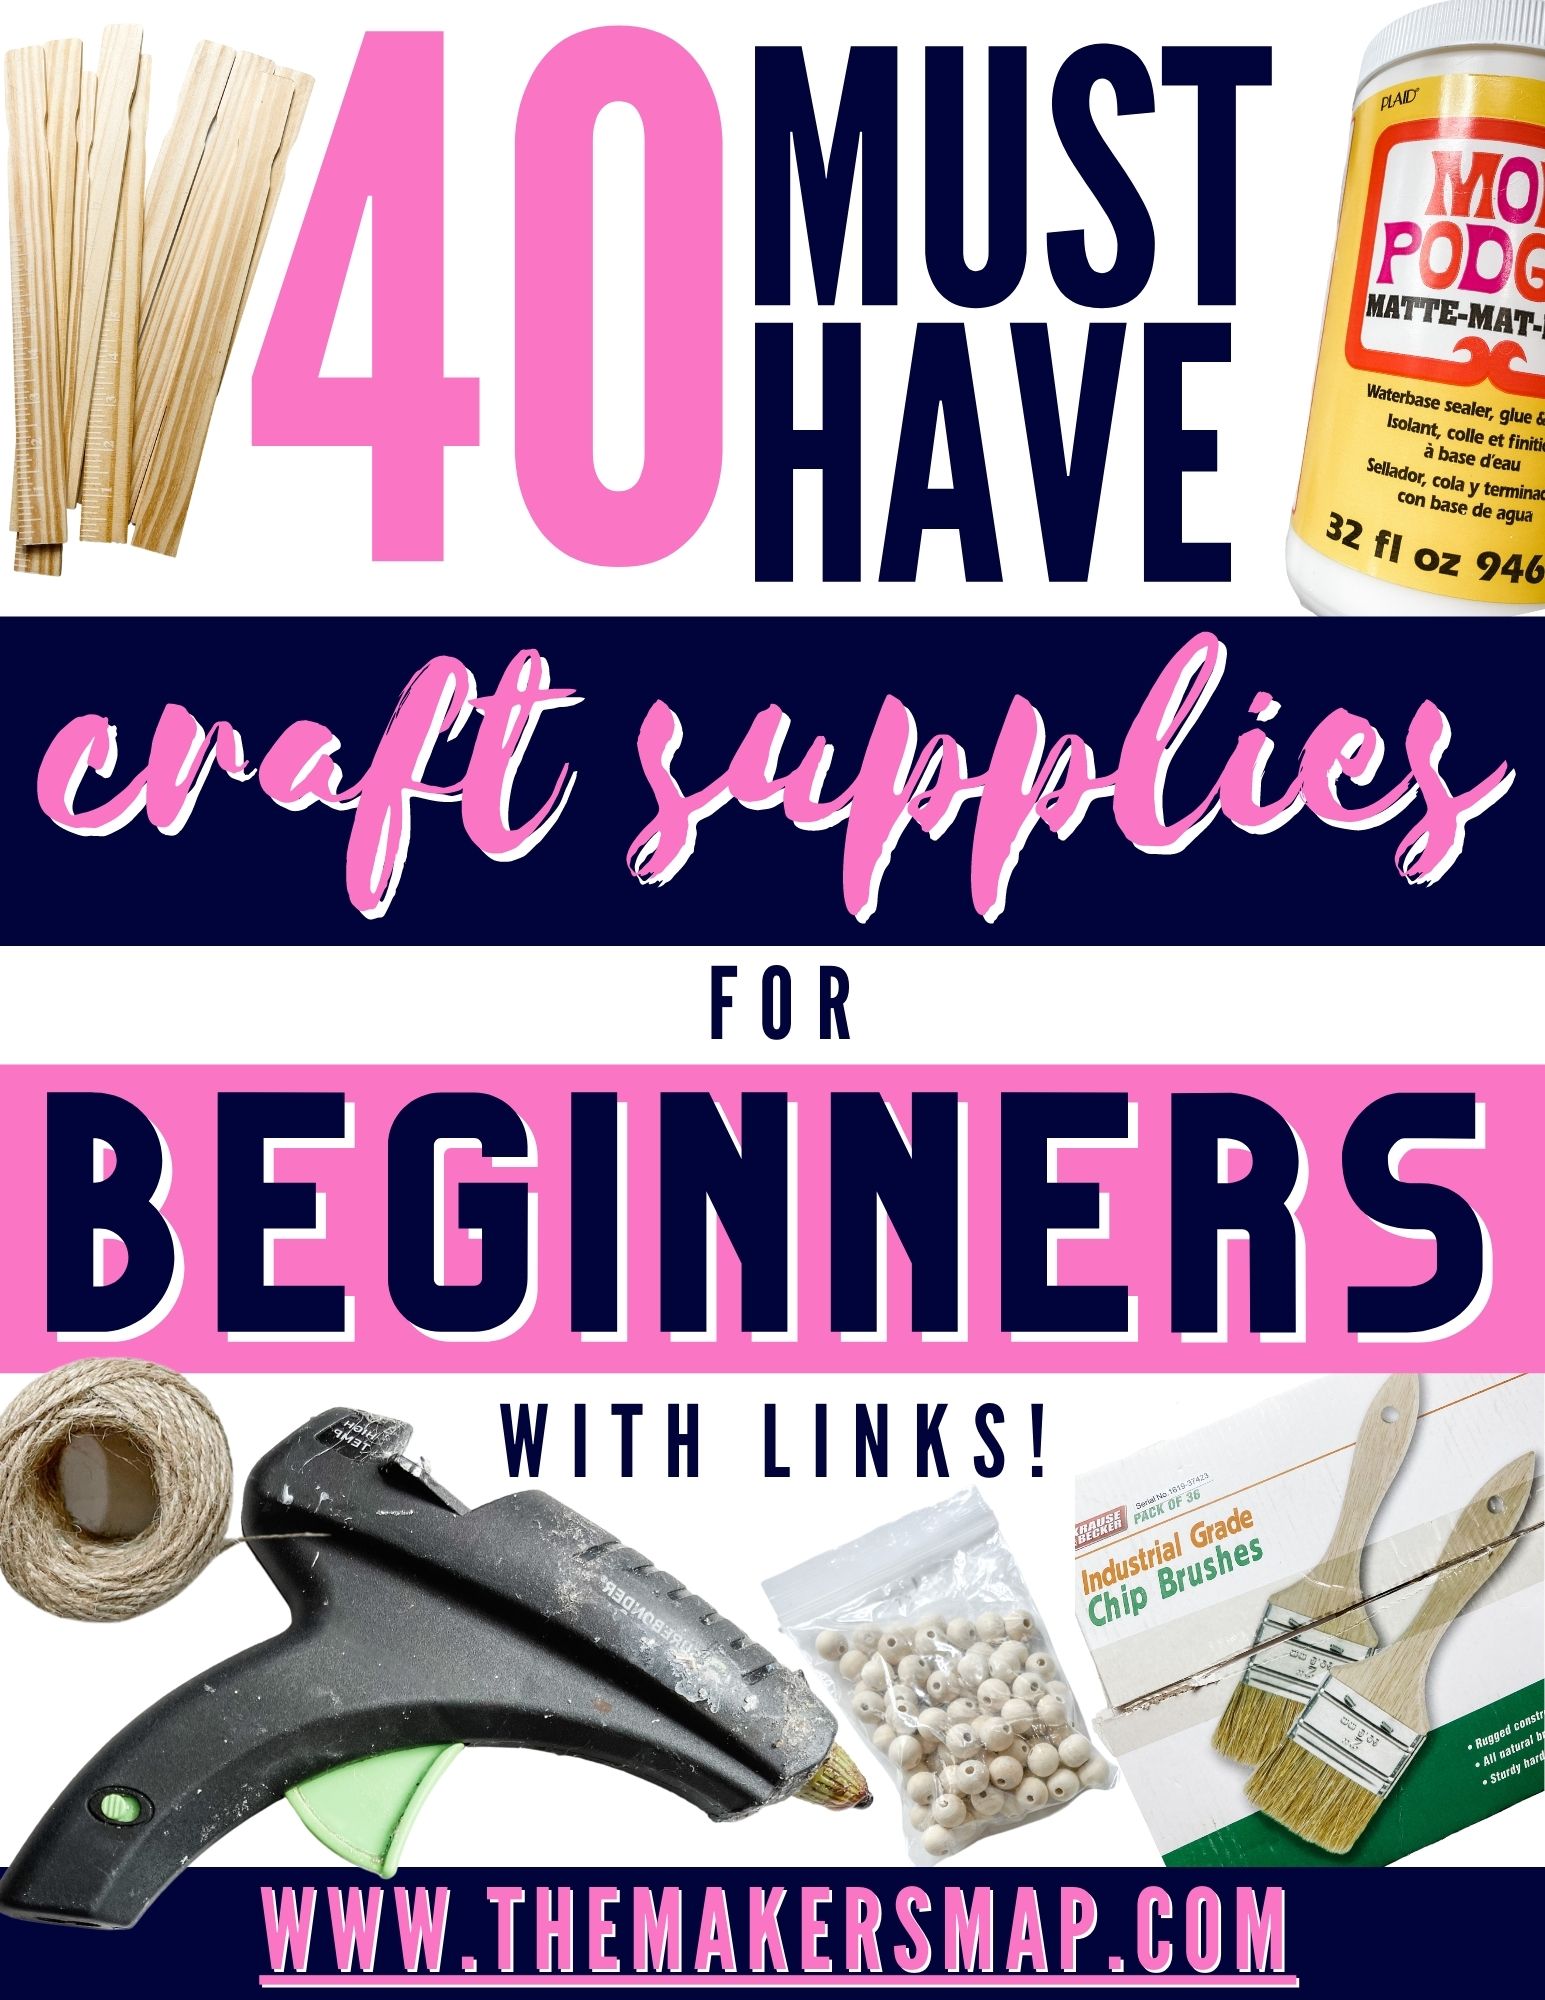
So, what should you keep in your crafting arsenal? Here’s a handy checklist:
| Essential Craft Supplies | Description |
|---|---|
| High-Quality Camera | Captures sharp and vivid images |
| Backdrops and Props | Sets the scene and adds fun elements |
| Lighting Equipment | Enhances aesthetic quality of your photos |
| Photo Editing Software | Essential for personalizing and enhancing images |
As tempting as it might be to grab any available supplies, investing in quality can ultimately save you time and frustration. I remember the first time I tried to make my own greeting cards using cheap paper. The colors bled and the cardstock curled at the edges. It was a mess! You learn through experience; I’m here to guide you right away from those pitfalls. Having the right supplies not only elevates your creativity but also fosters a sense of pride in your work. The more passion you have in your projects, the more likely you are to produce something lovely that you and others can cherish. Moreover, if you’re a beginner unsure about where to start, rest assured there’s no need to break the bank to stock up on supplies. Options abound, whether you’re diving into hobby stores, online platforms, or even local marketplaces. Quality doesn’t always equate to high prices! In conclusion, embarking on DIY photo projects can be a delightful experience, and having the right crafting supplies ensures that you can express your creativity fully and without hindrance. So, gear up, gather those essential tools, and let your imagination take flight! The best is yet to come! 🧡
Essential Craft Supplies for DIY Photo Projects
As you dive deeper into the exciting world of DIY photo projects, having the right craft supplies becomes crucial for unlocking your creative potential. From capturing the perfect shot to refining the final image, essential tools make a world of difference. Let’s explore four fundamental supplies that can take your DIY photo project to new heights.
High-Quality Camera
First and foremost, a high-quality camera is the backbone of any successful photo project. While phone cameras can produce stunning images these days, investing in a dedicated camera can provide you with greater control and versatility.
- DSLR or Mirrorless: If you are serious about photography, consider getting a DSLR or mirrorless camera. They offer interchangeable lenses, manual settings, and better image quality, especially in low light.
- Point-and-Shoot: For more casual projects, a point-and-shoot camera is lightweight and user-friendly, allowing for easy snapshots.
When I first transitioned from using my phone to a DSLR, the difference was astounding. The clarity, depth of field, and overall color balance were on another level. It made every DIY project feel more polished and professional.
Backdrops and Props
The right backdrops and props can set the stage for stunning photographs. Whether you’re capturing portraits, product shots, or creative flat lays, these elements can elevate your images considerably.
- Fabric Backdrops: Fabrics like muslin or velvet come in various colors and textures. A simple backdrop can transform an ordinary photo to something extraordinary.
- Paper Backdrops: These are versatile, cost-effective, and easy to change. They come in a wide range of colors and patterns.
- Props: From decorative items to everyday household objects, props can add personality to your photos. Think vases, books, and plants to create depth and interest.
During one of my recent photo shoots, I repurposed an old tablecloth as a backdrop, complemented with some fresh flowers and vintage books as props. The combination created an inviting scene, perfectly suited for a family portrait.
Lighting Equipment
Next up is lighting equipment. Good lighting can make or break your photos. Understanding how to harness it is vital, especially in DIY projects where you often shoot indoors or under varying conditions.
- Natural Light: Don’t underestimate the power of natural light! Shooting near windows or outdoors can provide soft, flattering light, especially during the golden hour (just after sunrise or before sunset).
- Continuous Lights: Softbox kits or LED panels are fantastic for consistent indoor lighting. They can soften shadows and distribute light evenly.
- Reflectors: These handy tools bounce light back onto your subject, filling in shadows and enhancing brightness.
I can still vividly recall a time when I attempted a candlelit dinner shoot without proper lighting. While it created a lovely ambiance, the resulting images were shadow-heavy and less appealing. Ever since, I’ve prioritized lighting in my setups, and it’s paid off immensely!
Photo Editing Software
Last but certainly not least, photo editing software is essential for bringing your DIY projects to life. Editing can enhance your photos, correct mistakes, and allow you to add creative touches that mirror your vision.
- Adobe Lightroom: A powerful yet user-friendly software that offers excellent tools for adjusting colors, exposure, and sharpness.
- Photoshop: Perfect for more advanced editing, including retouching, layering, and effects.
- Free Alternatives: Programs like GIMP or Canva offer user-friendly interfaces for basic edits without the subscription cost.
In my ongoing projects, I often find myself gravitating towards Lightroom for my basic edits—enhancing colors and fixing slight exposure issues. When I really want to get artsy, I’ll hop into Photoshop to overlay textures or create custom graphics.
Gathering these essential craft supplies lays a strong foundation for your DIY photo projects. Armed with a quality camera, creative backdrops and props, proper lighting equipment, and effective editing software, you’ll be well on your way to capturing captivating images that reflect your unique style. It’s time to roll up your sleeves, embrace the creative process, and watch your ideas come to life! 📸✨

Specialty Craft Supplies for Creative Projects
With the essential supplies in your toolkit, it’s time to elevate your DIY photo projects with some specialty craft supplies! These unique materials can add flair, personal touch, and a dash of excitement to your creations. Let’s explore some of these fantastic supplies that will ignite your creativity.
Scrapbooking Materials
Scrapbooking materials are an absolute must-have for anyone looking to make their photography ideas pop! Beyond just preserving your memories, these materials allow you to create artistic displays that tell a story.
- Albums and Page Protectors: Start with a quality scrapbook album to house your creations. Clear page protectors keep your work safe from wear and tear.
- Cardstock and Paper: Choose various colors, textures, and patterns to set the perfect backdrop for your photos.
- Die-Cutting Machines: These tools can cut intricate shapes and designs, helping to create unique embellishments for your pages. Brands like Cricut or Silhouette are hugely popular for this purpose.
I remember my first scrapbook project where I combined a beach vacation theme with vibrant blue and sandy textures. Using printed beachyard paper alongside memory cards and engaging layouts made the entire experience so satisfying. Flipping through the pages takes me right back to those sun-soaked days!
Stickers and Embellishments
Next on our list are stickers and embellishments! These simple yet effective supplies can bring life to any project. They allow you to add fun, colorful elements that accentuate your photos perfectly.
- Themed Stickers: From seasonal themes to hobby-specific designs, there’s a sticker for every occasion! Consider floral patterns for spring or heart-shaped stickers for anniversaries.
- 3D Embellishments: Elements like foam stickers or puffy stickers can add dimension and texture, making your layouts stand out.
- Words and Quotes: Stickers with quotes or phrases can express your thoughts perfectly and evoke emotions linked to the memories captured.
While working on a scrapbook of my daughter’s first birthday, stickers of balloons and cake truly pulled everything together. I even found adorable 3D cupcake stickers that sat perfectly on the edge of one page, adding depth and delight!
Washi Tape and Decorative Paper
Moving on to the ever-so-popular washi tape and decorative paper! These supplies are not just functional; they’re also fun, colorful, and wonderfully versatile.
- Washi Tape: This decorative tape comes in endless designs, colors, and patterns. It’s perfect for adding designs to your layouts or creating a photo border without the mess of glue.
- Decorative Paper: Think beyond basic scrapbooking paper. Choose from specialty papers, such as glitter, foil, and embossed patterns, to elevate your projects.
With washi tape, I’ve transformed plain photo frames into stunning decorations for my home. Just a few strips of vibrant patterned tape can create a border that makes the photo pop!
Embossing Tools
Let’s not forget about embossing tools, a craft supply that adds a sophisticated finish to your projects. Embossing can enhance your designs, making letters and images stand out.
- Heat Embossing: This technique involves applying embossing powder to an image and then using heat to create a raised, glossy finish. It’s perfect for greeting cards or adding detail to scrapbook layouts.
- Embossing Folders: These tools allow you to create textured patterns on your paper simply by passing it through a die-cutting machine.
I recently crafted some holiday cards using the heat embossing technique. The raised, glimmering snowflakes looked stunning against the deep blue cardstock, capturing the season’s magic beautifully!
Incorporating these specialty craft supplies into your DIY photo projects can truly enhance your creativity and make your work feel unique. Whether it’s through the storytelling nature of scrapbooking, the playful touch of stickers, the colorful essence of washi tape, or the sophisticated flair of embossing, you’re guaranteed to create memorable pieces you’ll cherish forever. So, let your imagination run wild, play around with these materials, and watch your ideas flourish! 🌈✨

Organizational Supplies for Project Management
As your DIY photo projects grow in complexity and beauty, so does the need for effective organization. Keeping your supplies and ideas in order can significantly ease the creative process and reduce stress. Here’s a deep dive into a few organizational supplies that can help you manage your projects seamlessly.
Storage Containers
Storage containers are the backbone of any organized crafting space. They come in various shapes and sizes, catering to different needs, and will help you keep your supplies neat and accessible.
- Clear Bins: Transparency is key! Clear bins make it easy to see what’s inside, preventing the dreaded rummaging through dark boxes. Choose stackable ones to save space.
- Drawer Organizers: Use drawer organizers for smaller items like scissors, adhesives, stickers, and washi tape. Keep everything compartmentalized and easy to find!
- Portable Carts: A rolling cart is ideal for crafters who enjoy moving projects from room to room. Fill it with your essential supplies and roll it over to wherever inspiration strikes.
When I began crafting, I struggled with a chaotic workspace. After I invested in clear storage bins, organizing my materials became a breeze. I could easily locate each supply without wasting precious crafting time!
Labeling Tools
Next, let’s talk about labeling tools. Establishing a well-organized space goes hand-in-hand with effective labeling, ensuring everything has its designated spot.
- Label Makers: These handy devices allow you to create professional, custom labels. Use them to label storage containers, drawers, or even shelves for easy identification.
- Chalkboard Labels: These are versatile, removable, and stylish! They’re perfect for jars or bins, so you can easily switch out the contents without wasting labels.
- Preprinted Labels: Stock up on a variety of preprinted labels, and customize them with colorful markers to bring a bit of personality to your organization.
I remember using an old cardboard box for my craft supplies, which led to lots of confusion. Once I got my hands on a label maker and started labeling each bin, it felt like I had finally entered the world of organized crafters! Now, whenever I start a new project, I can find everything in seconds.
Project Planners and Notebooks
Lastly, project planners and notebooks are essential supplies for mapping out your ideas and timelines. They help you manage your creative processes from conception to execution.
- Creative Project Planners: Look for planners specifically designed for crafters. These often include sections for brainstorming ideas, materials lists, timelines, and notes.
- Bullet Journals: If you enjoy customizing your layouts, a bullet journal lets you create your own organizational system. You can track projects, jot down ideas, or plan future themes.
- Sketchbooks: Having a dedicated sketchbook is fantastic for jotting down ideas, creating mood boards, or sketching designs before committing them to a project.
I’ve found that maintaining a project planner helps me stay focused and genuinely calls out to my creativity. For instance, during my scrapbook planning phase, I made a template for the entire layout, including space for photos, quotes, and embellishments, preventing me from getting stuck or losing momentum.
By incorporating these organizational supplies into your crafting routine, you’ll not only streamline your workspace but also enhance your overall creative flow. Having a designated place for every tool and material, effective labeling, and a solid plan will all contribute to a more enjoyable crafting experience. So, take the time to set up an organized environment that inspires you to create and craft without the chaos! 🎨🗂️

Bonus Supplies for Extra Creativity
Once you’ve established an organized workspace with essential supplies, it’s time to explore some bonus supplies that can take your DIY photo projects to the next level! These unique tools will add flair and personality to your creations while boosting your creativity and allowing for even more expressive designs.
Stamps and Ink Pads
Let’s kick things off with stamps and ink pads! These versatile supplies can add a touch of artistic magic to almost any project.
- Rubber and Clear Stamps: Rubber stamps are incredibly durable and provide deep impressions, while clear stamps allow you to position them perfectly before committing. They’re perfect for adding details and designs to your scrapbook pages or photography layouts.
- Themed Stamp Sets: There are countless themed stamp sets available, from floral designs to seasonal motifs. Having a variety at your disposal means you can match specific themes effortlessly!
- Ink Pads: Choose from various ink colors, including permanent and water-based inks. Consider experimenting with various shades to create depth in your designs.
I can’t express how much joy I felt when I first began using stamps in my projects! A few months ago, I worked on a scrapbook dedicated to my travel memories. By using travel-themed stamps like airplanes, luggage, and world maps, I felt I could visually narrate my adventures. It allowed me to customize each page and made everything cohesive yet artistic. One tip is to experiment with layering stamps. Stamping several images or colors can create unique backgrounds without needing complex designs or patterns!
Specialty Scissors and Cutting Tools
Next, let’s delve into specialty scissors and cutting tools. The right cutting tools can simplify your projects and elevate the final look.
- Decorative Scissors: These scissors feature unique blade designs, allowing you to cut shapes like zig-zags, scallops, and waves. It’s a creative touch that can give your pages a playful edge!
- Paper Trimmers: A paper trimmer is crucial for achieving straight, clean edges on photos and scrapbook layouts. They’re often quicker and more precise than scissors, especially for larger projects.
- Punches: Craft punches allow you to create shapes or borders with ease. They come in various designs, from circles and stars to intricate floral motifs. Using punches adds texture and interest to your layouts.
When I first discovered decorative scissors, I became obsessed! I decided to craft cards for my friends’ birthdays and found myself using a zig-zag-edged scissors to trim the borders. It added such a charming touch that the recipients often commented on the unique designs! Additionally, incorporating punches into my scrapbook has become a favorite method. One time, I punched out star shapes from old book pages and scattered them across a layout filled with night sky photographs. It was an impactful way to tie the theme together while allowing for extra creativity!
By adding these bonus supplies to your crafting toolkit, your DIY photo projects will reach new heights of creativity. Stamps and ink pads will give you the freedom to personalize your layouts easily, while specialty scissors and cutting tools will provide the precision necessary for those intricate designs you’ve been dreaming of. So, get ready to unleash your inner artist, and don’t hesitate to experiment with new techniques and styles. There are endless possibilities when crafting! 💖✂️
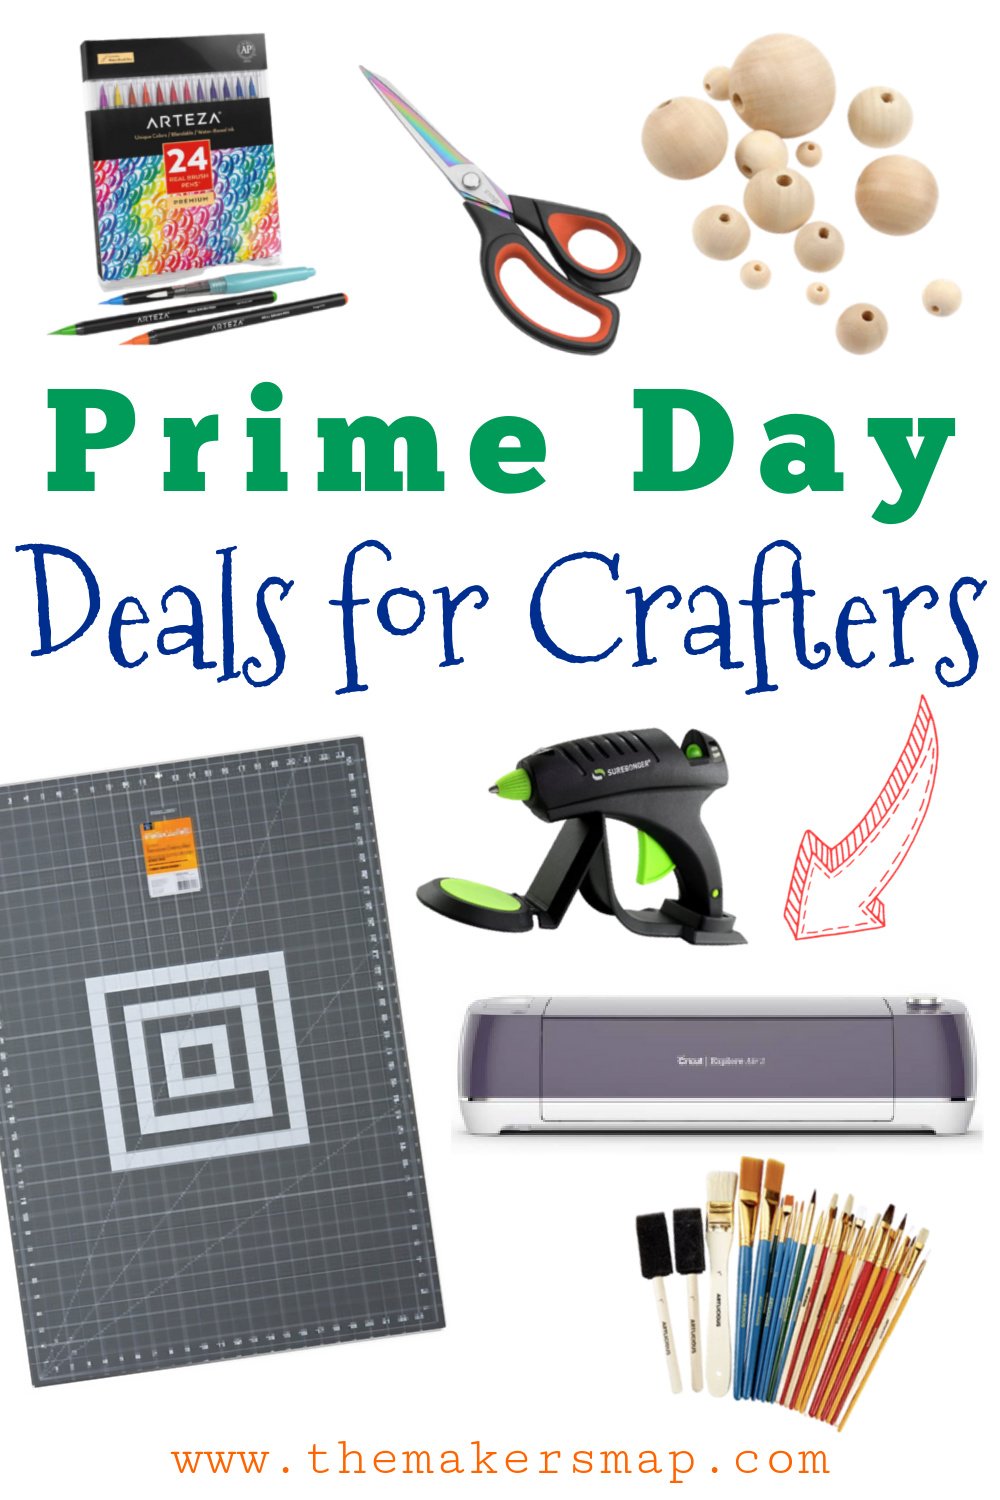
Shopping Tips and Recommendations
With all the incredible supplies we’ve covered so far, it’s essential to know where to find these quality craft supplies and how to stay within your budget. Getting the best materials for your DIY photo projects can enhance your experience and make your creative journey enjoyable. Let’s dive into some practical tips on where to shop and how to save money while still getting top-notch products!
Where to Find Quality Craft Supplies
Finding the right places to purchase craft supplies can make a world of difference in your crafting experience. Here are some go-to options:
- Local Craft Stores: Stores like Michaels, Joann, or Hobby Lobby often have a vast selection of craft supplies. You’ll find everything from paper, stickers, and stamps to specialty tools, all under one roof. Plus, strollers are generally permitted, so you can bring little ones along!
- Online Retailers: Websites like Amazon, Scrapbook.com, and Etsy provide a treasure trove of craft supplies. Online shopping offers convenience, and you can read reviews before making a purchase. You’ll also discover unique items from independent sellers that may not be available locally.
- Thrift Stores and Flea Markets: Don’t underestimate the power of a good thrift store! You can often find vintage papers, crafting supplies, and decor that can be repurposed into art. This can be a fun treasure hunt where you never know what you might discover!
- Specialty Shops: Visit stores tailored to photography or scrapbooking. These outlets often carry high-quality items that cater specifically to your projects’ needs.
I’ll never forget the time I stumbled upon a local flea market, where I found boxes of vintage postcards and papers for just a few dollars! It was like striking gold for my scrapbooking projects. Discovering these unique items can inspire your creativity and set your work apart.
Budget-Friendly Options and Alternatives
Crafting doesn’t have to be costly! Here are some tips for shopping smart and maximizing your budget:
- Sales and Coupons: Craft stores frequently offer sales, discounts, and special promotions. Sign up for their email newsletters to stay informed about upcoming deals, and be sure to check for weekly sales when you visit.
- Store Loyalty Programs: Many craft retailers have loyalty programs that reward you with points for every purchase, which can translate into future discounts. It’s an easy way to save over time on supplies you love!
- Bulk Buying: Consider purchasing frequently used items in bulk. For example, stock up on cardstock, adhesive, or basic embellishments when you see them on sale. This ensures you have what you need without paying full price repeatedly.
- DIY Alternatives: Embrace the creativity of DIY! Instead of buying expensive embellishments, consider making your own using repurposed materials. For example, cut out shapes from old books for unique paper designs or create your own stamps using foam and wood.
- Online Marketplaces: Websites like eBay or Facebook Marketplace can offer gently used supplies at a fraction of the cost. It’s also worth looking for local crafting groups that sell or trade supplies.
I learned firsthand that budgeting for crafts doesn’t mean sacrificing quality. Once, I sought washi tape that was a bit pricey in stores. I ended up finding a batch of colorful tape at a thrift store for mere cents! It was such a thrill to discover affordable gems without cutting corners.
By following these shopping tips and recommendations, you’ll enhance your crafting experience significantly. Finding quality craft supplies through local stores, online retailers, and thrift shops will give you a diverse range of options, while budget-friendly practices will allow you to enjoy your creative journey without breaking the bank. So get out there and start shopping! Your next masterpiece awaits, and it doesn’t have to cost a fortune! ✂️🛍️
Conclusion
As we wrap up this exploration of the wonderful world of DIY photo projects, let’s take a moment to recap the essential craft supplies discussed along the way and reignite your enthusiasm for creative crafting!
Recap of Essential Craft Supplies
Throughout our journey, we’ve identified key supplies vital for enhancing your DIY photo projects. Each item serves a specific purpose, contributing to the beauty and functionality of your work. Here’s a summary of the essentials:
- High-Quality Camera: The cornerstone for capturing sharp, vibrant images that showcase your creativity.
- Backdrops and Props: These set the stage for your photographs, adding context and personality.
- Lighting Equipment: Optimal lighting ensures your photos look polished, whether you’re shooting indoors or out in natural light.
- Photo Editing Software: Essential for refining your images and tailoring them to your artistic vision.
- Specialty Supplies: Items like stamps, ink pads, specialty scissors, and washi tape introduce delightful elements that enhance your projects.
- Organizational Supplies: With storage containers, labeling tools, and project planners, managing your crafting space has never been easier.
Having these supplies at your disposal allows you to explore various techniques and styles. Remember, it’s not just about the materials you choose; it’s also about how you bring your unique vision to life!
Encouragement for DIY Photo Projects
Now that you’re armed with all this knowledge and a treasure trove of supplies, it’s time to dive in and bring your creative ideas to fruition! Don’t hesitate to experiment with different combinations of supplies, styles, and techniques. After all, creativity thrives on exploration and innovation.
- Start Small: If you’re feeling overwhelmed, begin with a simple project. It could be as straightforward as creating a photo collage or making a personalized card for a friend. Allowing yourself to ease into the process will build your confidence.
- Join a Community: Connecting with fellow crafters can provide inspiration and support. Online forums, social media groups, or local crafting clubs are great platforms to share ideas, seek advice, and even collaborate!
- Document Your Journey: As you embark on your DIY photo projects, consider documenting your creative journey. Take notes on what worked well, what didn’t, and how your ideas evolved. This not only helps you learn but can also serve as a fantastic memory to look back on.
- Mistakes are Part of the Process: Embrace any missteps along the way! Sometimes the best ideas come from unexpected outcomes. What may seem like a mistake can turn into a beautiful creative twist. I once created a scrapbook page where the ink smeared accidentally, yet it gave the background an entirely new artistic flair that I loved!
As you embark on your crafting journey, let your imagination soar, and remember that every project is an opportunity to learn and grow. The most important thing is to enjoy the process! Crafting should never feel like a chore, but rather an enjoyable escape where you can express yourself and celebrate your memories. So gather your supplies, unleash your creativity, and dive into your next DIY photo project! There’s no limit to what you can create. Keep those scissors ready, and let the fun begin! 🌟✂️📸