
Introduction
Creating wooden puzzles is a rewarding and fulfilling craft that combines art, precision, and problem-solving. Whether you’re a seasoned woodworker or just starting out, the process of designing and crafting unique puzzles can ignite your creativity and bring joy to both you and the recipients of your handmade creations.
The Joy of Crafting Puzzles
When I first decided to dive into crafting wooden puzzles, I didn’t realize how much I would enjoy the entire process—from initial brainstorming to the final completion. The satisfaction of seeing intricate shapes come together is unlike any other! Each completed puzzle carries a piece of your heart, inviting others to engage in a fun challenge. Here are some points that highlight why crafting wooden puzzles is so enjoyable:
- Creativity: You can express your ideas and concepts in a tangible way, be it a favorite scene, animal, or abstract design.
- Problem Solving: Every puzzle presents a unique challenge, honing your critical thinking skills as you figure out how to make pieces interlock perfectly.
- Personal Gift: Handcrafting a puzzle makes for a significant and personalized gift for friends and family—something they will cherish.
A Time-Honored Tradition
Woodworking has been around for centuries, with puzzles serving as both entertainment and educational tools. It’s fascinating to think you are a part of a tradition that spans generations! The tactile nature of wood and the satisfaction of solving a puzzle encourage cognitive development in both children and adults. In this journey, we will explore various aspects of wooden puzzle crafting, such as types of puzzles, materials needed, crafting techniques, and how to showcase your masterpieces. So gather your tools, let your imagination soar, and get ready to embark on an exciting adventure filled with wooden creations! 🌲✨
Understanding Wooden Puzzles
As we’ve just scratched the surface of the engaging world of wooden puzzles, let’s delve deeper into what makes these creations so unique and captivating.
Types of Wooden Puzzles
Wooden puzzles come in various forms, each offering a different level of challenge and enjoyment. Here are some popular types you might consider:
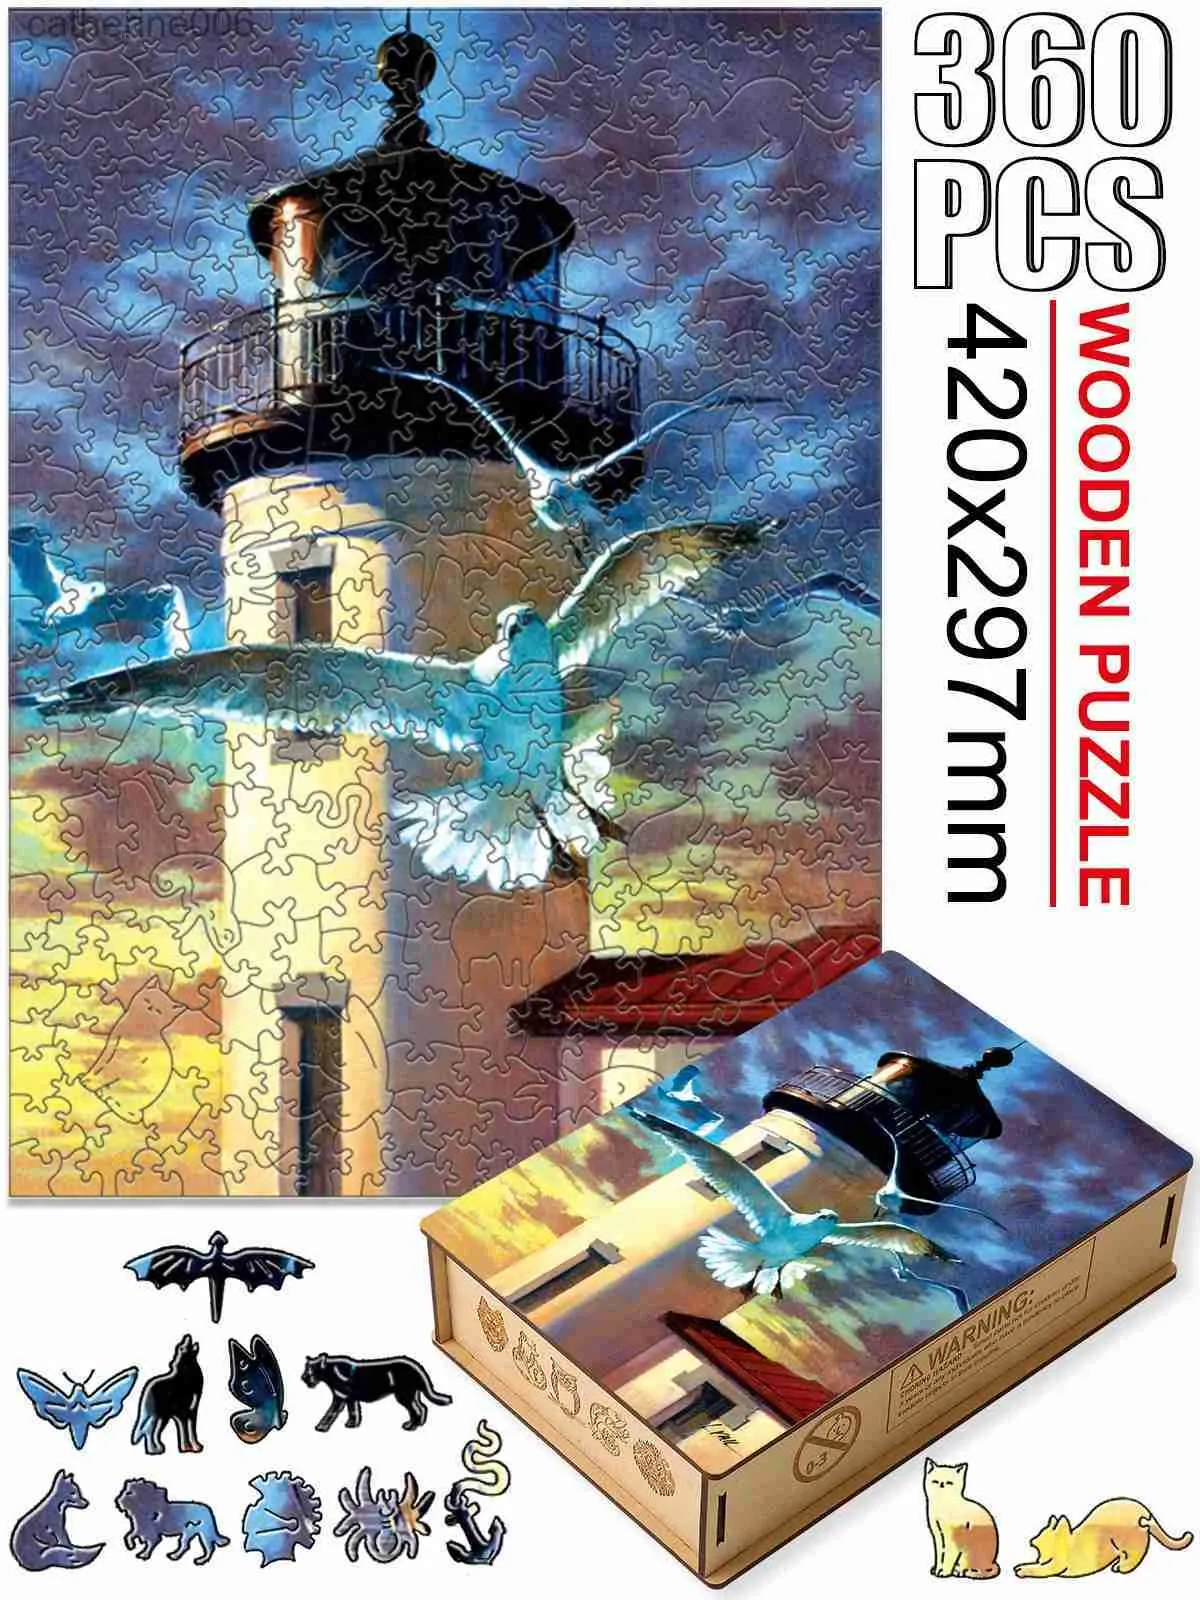
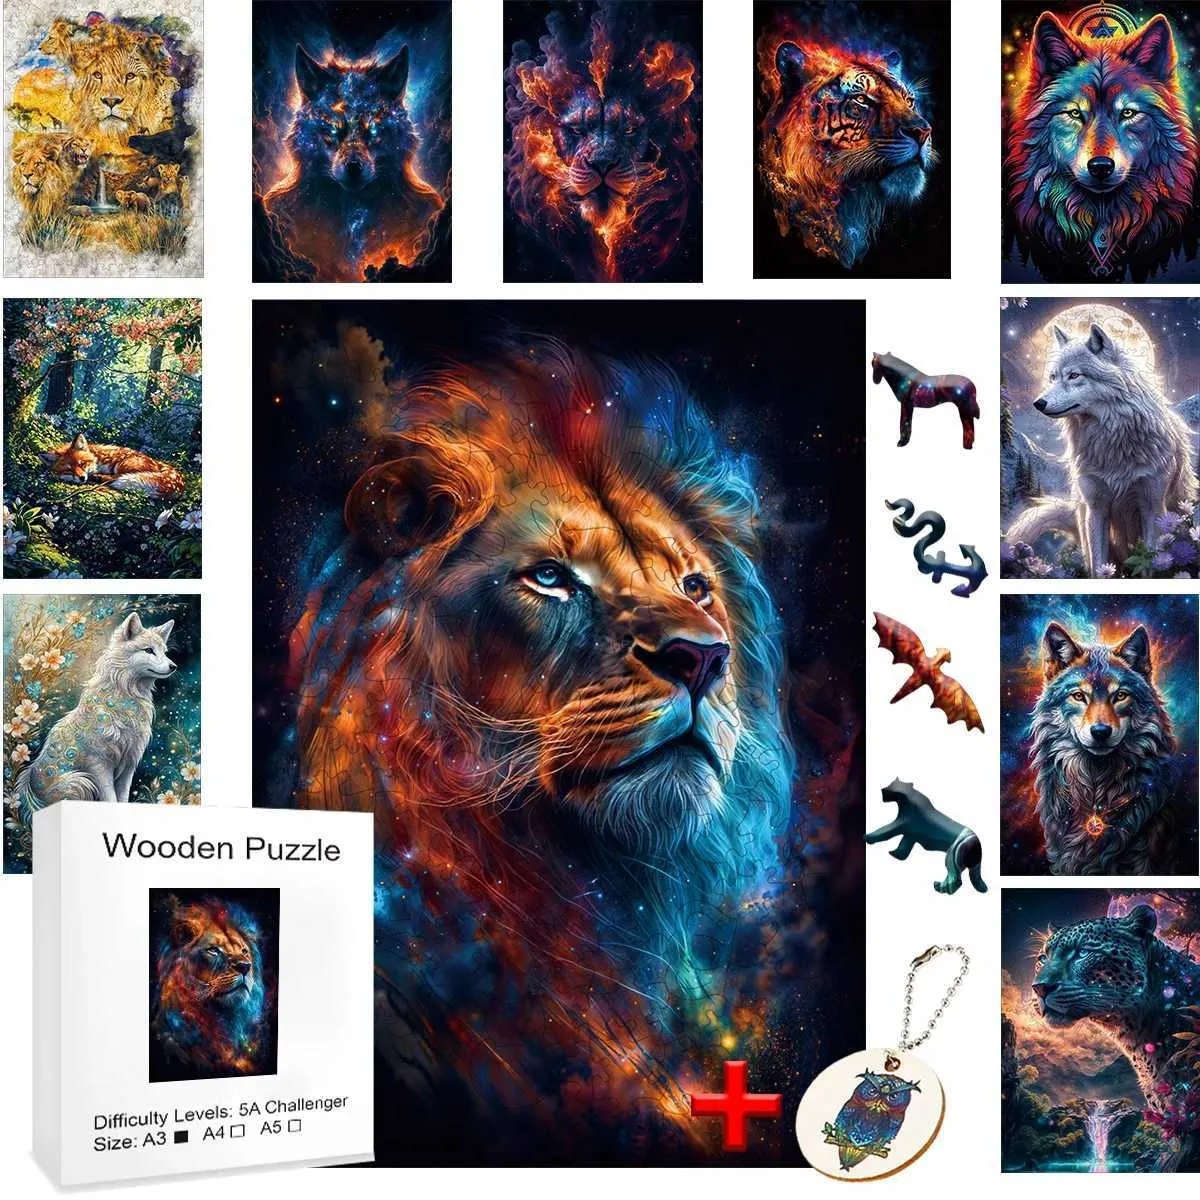
- Jigsaw Puzzles: The classic form! These puzzles consist of interlocking pieces that create a complete picture. They range from simple to extremely intricate designs.
- Shape Sorters: Perfect for little ones, these puzzles help develop spatial awareness as children match shapes to corresponding slots.
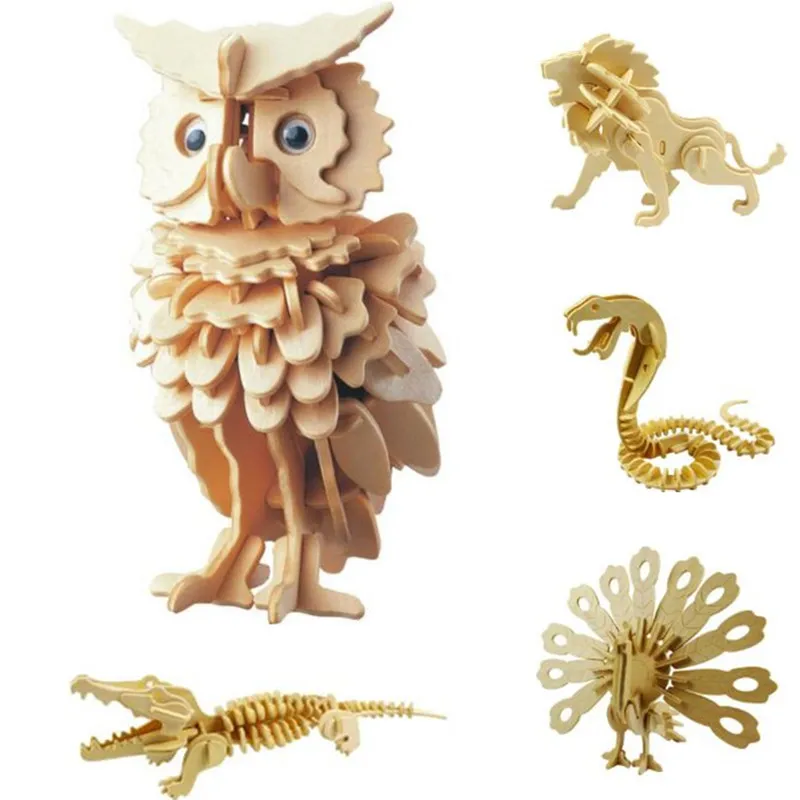
- 3D Puzzles: These add an exciting dimension to puzzle-solving. They can range from simple buildings to complex models like animals or vehicles.
- Mechanical Puzzles: Think of these as brain teasers that require you to manipulate the pieces to solve a challenge, often with moving parts!
I once spent an afternoon assembling a 3D wooden puzzle of a sailing ship, and it was incredible to watch the ship take shape as each piece clicked into place.
Benefits of Solving Wooden Puzzles
Engaging with wooden puzzles is not just about fun; it’s also a gateway to numerous cognitive benefits. Here are some notable advantages:
- Enhanced Problem-Solving Skills: Navigating the pieces fosters critical thinking and improves decision-making abilities.
- Boosted Memory and Concentration: Solving puzzles requires focusing on patterns and recalling where pieces fit.
- Stress Relief: There’s something therapeutic about the tactile element of wooden puzzles; it can be a great way to unwind after a long day.
I remember the calming experience I had piecing together a puzzle after a hectic week. It provided a respite, allowing my mind to relax and slow down. In summary, understanding the types of wooden puzzles and their benefits can enrich your crafting and solving experience. Ready to explore the materials and tools for creating your own puzzles? Let’s move on! 🧩✨
Materials and Tools for Crafting Wooden Puzzles
Now that you have a better grasp of the types of wooden puzzles and their fantastic benefits, it’s crucial to understand the materials and tools you’ll need to bring your vision to life. Getting the right supplies can make a significant difference in your crafting experience.
Essential Wood Types
When it comes to crafting wooden puzzles, choosing the right type of wood is vital. Here are some essential wood types that work exceptionally well for puzzles:
- Plywood: This is a popular choice due to its affordability and availability. It’s sturdy and can handle intricate designs well.
- Maple: Known for its durability, maple is a hardwood that provides a beautiful finish and excellent detail for intricate cuts.
- Birch: This wood has a fine grain, which makes it a great option for laser cutting and achieving high-quality puzzle pieces.
- MDF (Medium-Density Fiberboard): While not as traditional, MDF is smooth, easy to cut, and works well for beginners.
When I initially started crafting, I quickly discovered that maple pieces always looked stunning when stained, giving my puzzles an added touch of elegance.
Must-Have Tools for Beginners
Equipping yourself with the right tools will help make your puzzle crafting journey enjoyable and efficient. Here’s a starter kit you need:
- Scroll Saw: Perfect for making intricate cuts, a scroll saw is essential for detailed puzzle designs. It’s quieter than many other saws, too!
- Clamps: These are crucial for securely holding your wood pieces in place while cutting.
- Sandpaper and a Sander: To ensure smooth edges and surfaces, a variety of grits will help you achieve that polished finish.
- Wood Glue: This is necessary for any assembly, especially for those complex designs.
Having the right tools can transform your crafting experience. I vividly remember the joy of using my first scroll saw—it felt like magic watching the curves come to life! With the right materials and tools at your disposal, you’re well on your way to creating beautiful wooden puzzles. Next, let’s dive into the fun part: designing your very own wooden puzzle! 🎨🔧

Designing Your Own Wooden Puzzle
With materials and tools ready at your disposal, it’s time to unleash your creativity and dive into the exciting process of designing your very own wooden puzzle. This journey begins with selecting a concept or theme that resonates with you.
Selecting a Concept or Theme
Choosing the right theme for your puzzle sets the foundation for a fantastic finished product. The possibilities are endless! Here are some ideas I found helpful during my own puzzle crafting adventures:
- Nature Scenes: Consider landscapes, wildlife, or floral themes. I once made a puzzle featuring a serene mountain landscape, and it turned out to be a crowd-pleaser!
- Favorite Movies or Books: Design a puzzle based on iconic scenes or characters. This approach adds a layer of personal meaning, making the puzzle special for you.
- Abstract Patterns: If you enjoy creativity without constraints, going for geometric shapes or abstract designs can be liberating.
- Custom Artwork: If you have artistic friends or family members, commission some artwork that can inspire your puzzle design.
Honing in on a theme makes the design process more enjoyable, as the pieces will reflect your interests and passions.
Planning the Puzzle Structure
Once you have your theme, it’s time to think about the structure and layout of your puzzle. Here’s how to plan effectively:
- Size and Dimensions: Consider how large or small your puzzle will be. A common beginner size is 12×12 inches, which is manageable to cut and piece together.
- Piece Count: Decide how many pieces you’d like. For a beginner puzzle, consider around 20–50 pieces.
- Interlocking Design: Look at how the pieces will fit together. Create a diagram to visualize the layout. My first puzzle design was a simple jigsaw style, which made cutting and fitting the pieces much easier.
- Make it Challenging: Add an element of difficulty, like varying the shapes of pieces or including a few unique or “whimsical” cuts.
By laying out a clear plan, you’ll be well-equipped to tackle the crafting stage. Let your creativity flow as you bring your unique puzzle to life! Next, we’ll discuss precision cutting techniques to make those ideas a reality. 🛠️🎉
Precision Cutting Techniques
Now that you’ve laid out your design and planned your puzzle structure, it’s time to enter the exciting phase of cutting the pieces! Precision cutting is essential for ensuring that your puzzle fits perfectly together. This section will help you master two key techniques: using a scroll saw and refining your pieces with chisels and sandpaper.
Using Scroll Saw for Intricate Patterns
The scroll saw is one of the most powerful tools in a woodworker’s arsenal when it comes to making intricate cuts. Here’s why it’s essential for crafting wooden puzzles:
- Versatility: The scroll saw can easily handle both large curves and small details. This feature allows you to incorporate fine patterns that can make your puzzle visually stunning.
- Control: You have the ability to control the cutting speed and angle, making it easier to navigate tight spaces.
When I first used a scroll saw, I remember being amazed at how simple it was to cut through a piece of birch while creating delicate shapes for my wildlife-themed puzzle. Here are some tips when using a scroll saw:
- Practice, Practice, Practice: Before jumping into your main project, spend some time practicing on scrap wood.
- Use the Right Blade: Thin blades will help you achieve finer cuts, especially for intricate designs.
- Stay Steady: Always maintain a steady hand, allowing the saw to do the work without forcing it.
Fine Tuning with Chisels and Sandpaper
Once your pieces are cut, it’s time for the finishing touches. This is where chisels and sandpaper come into play.
- Chisels: They are great for refining edges and shaping pieces precisely. You can remove small areas for a better fit, especially if you’ve encountered any rough cuts.
- Sandpaper: This is crucial for smoothing out edges to ensure that pieces fit together seamlessly. Use a range of grits, starting with coarser sandpaper and gradually moving to finer grits.
I still remember the satisfying feeling of sanding down my puzzle pieces until they were as smooth as butter. Taking the time to finesse the edges will pay off when putting it all together. With these precision cutting techniques under your belt, you’re well-equipped to create beautifully crafted wooden puzzles. Up next, we’ll explore how to assemble your creations and add those all-important finishing touches! ✂️🪚

Assembly and Finishing Touches
With your puzzle pieces carefully cut and shaped, you are entering one of the most rewarding stages of the crafting process: assembly and adding those finishing touches. In this segment, we will delve into how to secure your pieces together and perfect their surfaces for a polished look.
Securing Pieces Together
Before considering any final touches, it’s essential to connect your puzzle pieces securely. Here are some methods to consider:
- Wood Glue: This is the most common and effective way to secure your pieces. Make sure to apply a thin, even layer along the edges of the contact surfaces. I usually use a small brush for precise application, ensuring that I don’t overdo it.
- Weights or Clamps: Use weights or clamps to ensure that the pieces stay together while the glue dries. I often place some heavy books on top of my puzzles during this stage. Just remember to cover the pieces with plastic to avoid any damage!
- Drying Time: Allow at least 24 hours for the glue to set properly. Patience is key! Taking a moment to reflect on your handiwork during this time is also rewarding.
Sanding and Applying Finishes
Once the glue has dried and your pieces are secured, it’s time to elevate your puzzle’s aesthetics through sanding and applying finishes. Here’s how to do it:
- Sanding: Begin with medium-grit sandpaper (around 120 grit) to smooth out any rough edges, and then transition to fine-grit (220 grit) for a silky finish. I’ve found that using a sanding block or electric sander helps maintain an even pressure.
- Applying Finishes: This is where you can get creative! Choose a finish that works with your style. Options range from clear varnish for a natural look to colored stains that enhance the wood grain. Always test the finish on a scrap piece of wood first to ensure you love the color.
The transformation from raw wood to a beautifully finished puzzle is always a magical moment. I remember my first piece, glistening with a fresh coat of varnish—it felt like I was unveiling a masterpiece! With your assembly skills honed and finishing touches just right, you’re ready to showcase your stunning new puzzle! Next, we’ll discuss testing and refining your wooden creation to ensure it’s perfect for solving. 🧩✨

Testing and Refining Your Wooden Puzzle
After spending hours carefully crafting, assembling, and finishing your wooden puzzle, it’s time for the moment of truth: testing it out! This phase is crucial to ensure that all your hard work has turned into a delightful puzzle-solving experience.
Conducting a Test Run
The initial test run should be done carefully to evaluate the fit and overall structure of your puzzle. Here’s how you can conduct a successful test:
- Piece Fit: Start by assembling all the pieces to see how they fit together. Pay close attention to how smoothly they interlock.
- Adjustments: If you encounter any pieces that are too tight or too loose, take note. A little adjustment in sanding can make a world of difference. For instance, I discovered the hard way that a few pieces needed a little extra sanding to ensure they slid together effortlessly.
- Full Assembly: Complete the entire puzzle to check for any potential issues like misaligned pieces or wobbling. This full assembly will also help identify any assembly-related problems that might need rectifying.
Refining the Puzzle Experience
Once you’ve completed the test run, it’s time to refine your puzzle based on your observations. Here are some tips to elevate the overall puzzle experience:
- Quality Control: Look for rough edges, unfinished surfaces, or any excessive glue residue. Tackling these small details now will provide a more enjoyable puzzle for the next person.
- Re-testing: After making adjustments, don’t forget to do another test run! It’s rewarding to see how your refinements improve the piece fit and overall feel of the puzzle.
- Feedback: Get honest feedback from friends or family; they can offer a fresh perspective that might inspire further refinements!
I remember when I finally completed a wooden puzzle for a family gathering. After some trial and errors during the testing phase, the joy on everyone’s faces was worth every minute spent refining! With your puzzle now thoroughly tested and refined, you’re ready to showcase your masterpiece. Next, we’ll explore how to display your wooden creations for all to admire! 🎉🧩

Showcasing Your Creations
With your wooden puzzle meticulously crafted, tested, and refined, it’s time to share your hard work and creativity with the world! Showcasing your creations not only celebrates your achievements but also inspires others. Here are some fun and engaging ways to display your wooden puzzles.
Creative Display Ideas
How and where you choose to showcase your puzzles can make a significant difference in how they impact your space. Here are some ideas that I’ve used to display my own puzzles:
- Framing: Mounting your finished puzzle in a shadow box frame can elevate it into a stunning piece of wall art. You can choose frames that complement the colors of your puzzle for added flair.
- Puzzle Stands: Consider investing in or crafting a custom stand that holds your puzzle upright. It transforms your wooden creation into a conversation starter in any room.
- Rotating Displays: If you have multiple puzzles, a tiered display or rotating stand allows you to show off several creations at once, creating a mini gallery experience!
When I set up a small shelf in my living room for my puzzles, I loved watching guests admire each one. It sparked conversations and led to sharing stories about the crafting process!
Sharing Online
In today’s digital age, sharing your creations online can make your story resonate with fellow woodworking enthusiasts. Here are some platforms and tips to consider:
- Social Media: Platforms like Instagram or Pinterest are ideal for sharing snapshots of your puzzles. Use relevant hashtags like #WoodenPuzzles or #CraftingCommunity to engage with a broader audience.
- Crafting Blogs: If you enjoy writing, consider starting a blog to document your journey. Sharing tutorials, challenges, and finished products can inspire others in the crafting community.
- Local Craft Fairs: Participating in craft fairs offers the chance to showcase your work in person and make meaningful connections with fellow crafters and puzzle lovers.
By showcasing your creations, you not only celebrate your artistic journey but also engage with a community that appreciates the beauty of handcrafted items. So, let your puzzles shine, and watch as they touch the hearts of others! 🌟🧩

Advanced Techniques for Experienced Crafters
Now that you’ve showcased your stunning wooden puzzles, it’s time to elevate your crafting skills with some advanced techniques! As you gain more experience, introducing moving parts and creating 3D puzzles can take your creations to the next level, delighting puzzle enthusiasts and crafters alike.
Introducing Moving Parts
Incorporating moving parts into your wooden puzzles can add an exciting interactive element that engages users beyond mere assembly. Here are some ideas to get you started:
- Sliding Mechanisms: Think of puzzles that require pieces to slide to reveal hints or solutions. Using well-placed grooves can create a smooth motion, making it a delightful surprise during play.
- Rotating Elements: Adding rotating sections to your design can offer additional challenges or fun mechanics. I once crafted a puzzle with rotating disks that revealed hidden images when turned!
- Spring-Loaded Features: For the adventurous, consider integrating spring-loaded parts that spring out when the puzzle is solved. While challenging, it brings a playful twist that adds to the experience.
Remember, always plan your mechanics during the design phase to ensure that all pieces will operate smoothly without compromising the puzzle’s overall integrity.
Creating 3D Puzzles
Once you’ve mastered the art of standard puzzles, why not challenge yourself with 3D designs? Sculpting puzzles that require users to build up layers or structures can be incredibly rewarding. Here are some tips:
- Layered Designs: Create a puzzle composed of interlocking layers that stack to form a final shape, like a tree or a building. This technique adds depth and complexity, making the crafting process even more fun.
- Curved Structures: Using wooden dowels or curved wood pieces can allow you to create flowing organic shapes like animals or natural forms. I once made a dolphin that leapt out of a wave, and the 3D effect was mesmerizing!
- Multi-Part Assembly: Consider designing puzzles with multiple components that come together to form a single piece. This adds an extra layer of engagement and complexity, making the solving experience more intriguing.
These advanced techniques can elevate your crafting game and open up new avenues for creative expression. So don’t shy away from experimenting and pushing your boundaries. The world of wooden puzzles is a canvas waiting for your imagination! 🧩🌈

Tips for Maintaining Wooden Puzzles
After investing time and energy into crafting beautiful wooden puzzles, maintaining them is crucial to ensure their longevity and enjoyment. Proper care not only keeps your puzzles looking fresh but also enhances the overall puzzle-solving experience for years to come. Here are some tips to help you maintain your wooden puzzles effectively.
Cleaning Your Puzzles
Keeping your wooden puzzles clean is essential, especially if they’ve been used frequently. Dust and debris can accumulate, affecting the appearance and longevity of your pieces. Here’s how to clean them safely:
- Gentle Dusting: Use a soft, dry cloth or a microfiber cloth to dust off any loose particles. Avoid using anything abrasive that could scratch the surface.
- Spot Cleaning: For tougher stains, lightly dampen a cloth with water and a mild soap solution. Wipe the stained areas gently, being careful not to saturate the wood. I’ve used a damp sponge with mild dish soap, and it works wonders without damaging the finish.
- No Harsh Chemicals: Always avoid using harsh chemicals or solvents. They can strip away finishes or cause discoloration.
Proper Storage
How you store your puzzles can significantly impact their condition over time. Here are some smart storage tips:
- Keep Dry and Cool: Store your puzzles in a cool, dry place away from direct sunlight. Excessive heat or humidity can warp the wood or fade colors.
- Use Puzzle Boxes or Bags: Consider using dedicated puzzle boxes or bags to keep all pieces contained when not in use. It prevents them from getting lost and protects them from damage.
Regular Inspection
Lastly, make a habit of inspecting your puzzles periodically. Look for any signs of wear, such as loose parts or worn edges, and address any issues as soon as you spot them. A little upkeep goes a long way! I make it a point to inspect my puzzles every few months, and I usually find little things I can tighten up or polish, adding to their charm. With these maintenance tips, your wooden puzzles will not only remain visually stunning but also ready for countless rounds of solving fun for years to come! 🧩🌟

Joining the Wooden Puzzle Crafting Community
As you dive deeper into the world of wooden puzzle crafting, connecting with fellow enthusiasts can enhance your experience and inspire your creativity. The crafting community is vibrant and diverse, offering a wealth of resources, collaboration opportunities, and friendships. Here’s how you can get involved!
Online Communities and Forums
In the digital age, there are numerous online platforms where you can find other puzzle crafters to share tips, tricks, and ideas. Here are some options you might explore:
- Social Media Groups: Platforms like Facebook host various groups dedicated to woodworking and puzzle crafting. Joining groups allows you to access resources, get feedback on your work, and share your projects. I joined a woodworking group, and it was incredible! I learned new techniques and gained advice from people with plenty of experience.
- Reddit: Subreddits like r/Woodworking or r/Puzzles provide a great space to ask questions, post your creations, and discover new ideas. Don’t hesitate to engage with the community—people are often excited to help!
- Crafting Blogs: Many bloggers share not only their projects but also tutorials and insights into their crafting journeys. Following them can provide ongoing inspiration.
Local Workshops and Craft Fairs
Getting involved in your local community can be equally fulfilling. Here are some ideas to consider:
- Attend Workshops: Many local art centers or woodworking shops offer workshops. These provide an excellent chance to learn new skills and meet fellow crafters in person, making connections that can last a lifetime.
- Participate in Craft Fairs: If you’re ready to share your creations, consider joining a local craft fair. Selling or showcasing your puzzles can introduce you to other skilled artisans and puzzle lovers. My first craft fair experience was exhilarating—meeting customers and sharing my passion brought my creations to life!
Engaging with the wooden puzzle crafting community can enrich your journey, offering inspiration, support, and friendship. Embrace the opportunity to connect, and watch your skills and enjoyment flourish as you bond with fellow creators! 🌳🤝

XII. Exploring Creative Possibilities with Wooden Puzzles
With a solid foundation in wooden puzzle crafting and a supportive community behind you, it’s time to unleash your creativity and explore the endless possibilities that this medium offers! From unique themes to innovative designs, the realm of wooden puzzles is filled with opportunities to express your artistic side.
Diverse Themes to Consider
When it comes to themes, the sky is truly the limit! Think about what excites you and your audience. Here are a few suggestions to spark your imagination:
- Seasonal Puzzles: Create puzzles that celebrate the seasons, like autumn leaves, winter snowflakes, or spring flowers. I made a lovely winter-themed puzzle featuring cozy cabins, and it quickly became a favorite holiday decoration!
- Educational Puzzles: Design puzzles that teach something—like the solar system, geography, or famous landmarks. These are great for children and serve as fun educational tools.
- Cultural Inspirations: Draw ideas from your travels or heritage. Puzzles that depict traditional patterns or iconic symbols can reflect your personal story while being visually captivating.
Innovative Puzzle Designs
Once you’ve chosen your theme, think about unique ways to incorporate it into your puzzle design. Here are some ideas:
- Layering and Depth: Introduce layers into your puzzle for a three-dimensional effect. Think of creating a landscape puzzle where mountains rise above a valley.
- Texture and Mixed Materials: Combine different woods or even other materials like acrylic or metal to create contrasting textures. I once added a mirrored piece to a puzzle, which created an interesting dynamic when solved!
- Interactive Elements: Incorporate parts that move or require a specific action to reveal the solution. Adding a secret compartment can turn a simple puzzle into a treasure hunt!
Exploring these creative possibilities can lead to exciting innovations in your wooden puzzle designs. Dive into your imagination and let your passion guide you! Each puzzle you create is a chance to share your story and invite others into your unique world of craftsmanship. 🧩✨

XIII. Conclusion and Final Thoughts
As we wrap up our journey through the captivating world of wooden puzzles, it’s incredible to reflect on everything we’ve covered. From the initial stages of crafting to exploring advanced techniques and creative possibilities, you’re now armed with a comprehensive toolkit for your puzzle-making adventure.
Embracing the Craft
Crafting wooden puzzles is not just a hobby; it’s a form of expression, problem-solving, and a way to connect with others. Each piece you create tells a story and invites engagement, whether through personal challenges or shared moments with loved ones. Remember:
- Experiment and Enjoy: Don’t hesitate to explore new themes, designs, and techniques. Every puzzle you make is a step towards finding your unique style.
- Learn from the Community: Engaging with fellow crafters can provide inspiration and support. Sharing experiences helps foster creativity and sparks new ideas!
I recall the joy I felt when I received feedback from friends after they solved one of my puzzles. Their excitement validated my efforts and encouraged me to keep pushing my boundaries.
Future Adventures Await
The possibilities in wooden puzzle crafting are endless. Whether you choose to focus on intricate designs, interactive puzzles, or educational tools, each project offers a valuable learning experience. Your journey doesn’t end here; it’s merely the beginning:
- Keep Practicing: The more you create, the more skilled you’ll become. Embrace any mistakes as valuable lessons.
- Challenge Yourself: Consider taking on advanced techniques like incorporating moving parts or crafting 3D designs. These challenges can be incredibly rewarding!
In conclusion, enjoy every moment of your wooden puzzle crafting journey. It’s a beautiful blend of creativity, craftsmanship, and the joy of solving. So pick up that saw, gather your materials, and let your imagination guide you! Happy crafting! 🌟🧩